To add local.devserver.com to your /etc/hosts file while keeping the existing entries, you can edit the file as follows: Open the /etc/hosts file with a text editor: sudo nano /etc/hosts Add the following line to map local.devserver.com to localhost: 127.0.0.1 local.devserver.com Your /etc/hosts file should now look something like this: 127.0.0.1 localhost # The following lines are desirable for IPv6 capable hosts ::1 ip6-localhost ip6-loopback fe00::0 ip6-localnet ff00::0 ip6-mcastprefix ff02::1 ip6-allnodes ff02::2 ip6-allrouters 127.0.0.1 local.devserver.com…
Dump expo1)sudo docker exec -i master-management_mongodb /usr/bin/mongodump –username user –password password –authenticationDatabase admin –db mms2 –out /dump2) sudo docker cp master-management_mongodb:/dump ~/Downloads/Restore:sudo docker cp ~/Downloads/dump/mms2 master-management_mongodb:/dumpsudo docker exec -it master-management_mongodb bashsudo docker exec -i master-management_mongodb /usr/bin/mongorestore –username user –password password –authenticationDatabase admin –db mms3 /dump/
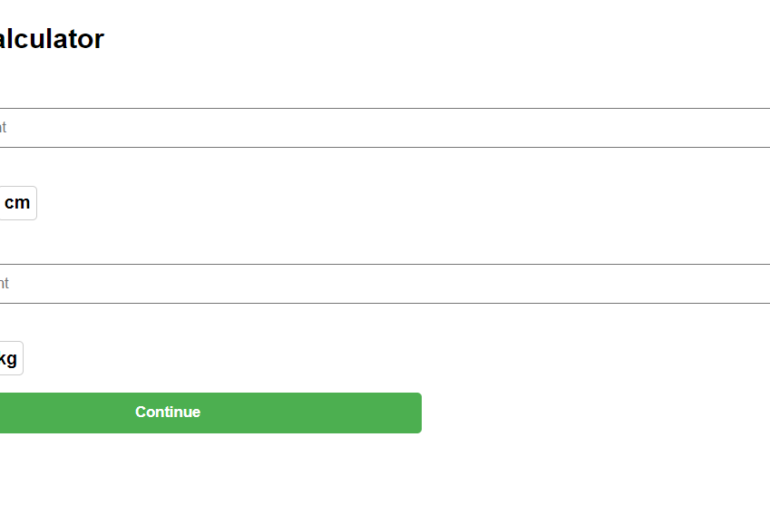
Introduction:In the health and wellness domain, BMI (Body Mass Index) is a widely used indicator of body fatness. Developing a BMI calculator can be a great addition to a health-focused website or application. In this blog post, we’ll guide you through the step-by-step process of creating a BMI calculator that dynamically converts units, providing a seamless user experience. Step 1: Setting the FoundationBegin by setting up the HTML structure and including the necessary styles. A…
sudo find /var/lib/php/sessions -type f -exec rm -f {} \;
The error message indicates that you are trying to authenticate to GitHub using a password, but GitHub removed support for password authentication on August 13, 2021. To fix this error, you need to generate a personal access token (PAT) and use that to authenticate to GitHub instead. To generate a PAT: Log in to your GitHub account.Click your profile photo in the top right corner of the page, and then click Settings.In the left sidebar, click Developer settings.In…
If you are using the Bitnami WordPress stack, the file permissions might be causing the update issue. To fix it, you can follow these steps: Connect to your server using SSH or any other preferred method.Navigate to the WordPress installation directory. In Bitnami, it is usually located at /opt/bitnami/apps/wordpress/htdocs/.Run the following command to set correct file permissions for the WordPress files:shell sudo chown -R bitnami:daemon . sudo find . -type d -exec chmod 775 {}…
To uninstall the Angular CLI, you can use the following command in the terminal: This will remove the Angular CLI from your system. To upgrade the Angular CLI to the latest version, you can use the following command: npm install -g @angular/cli@latest This will install the latest version of the Angular CLI globally on your system. If you want to upgrade to a specific version of Angular CLI, you can replace latest with the version…
Edit the phpmyadmin conf file at sudo nano /opt/bitnami/apache/conf/bitnami/phpmyadmin.conf and use: Options -Indexes +FollowSymLinks -MultiViews AllowOverride All Require all granted sudo /opt/bitnami/ctlscript.sh restart apache
To set up Ubuntu, PHP, and phpMyAdmin in AWS, follow these steps: Launch an EC2 instance with Ubuntu: Sign in to your AWS Management Console and go to the EC2 Dashboard.Click on “Launch Instance” and select “Ubuntu Server” as the AMI.Choose the instance type you want and configure any additional settings you need.Create a new key pair or use an existing one to access the instance. Install PHP: Connect to the instance using SSH and…
To install WordPress from the command line, you need to have access to a web server that supports PHP and MySQL. Here are the general steps to follow: Download the latest version of WordPress using the command below: sudowget https://wordpress.org/latest.tar.gz Extract the downloaded file using the command below: sudotar -xvzf latest.tar.gz Move the extracted files to your web server document root. For example, if you are using Apache web server on Ubuntu, the document root…
