To add local.devserver.com to your /etc/hosts file while keeping the existing entries, you can edit the file as follows: Open the /etc/hosts file with a text editor: sudo nano /etc/hosts Add the following line to map local.devserver.com to localhost: 127.0.0.1 local.devserver.com Your /etc/hosts file should now look something like this: 127.0.0.1 localhost # The following lines are desirable for IPv6 capable hosts ::1 ip6-localhost ip6-loopback fe00::0 ip6-localnet ff00::0 ip6-mcastprefix ff02::1 ip6-allnodes ff02::2 ip6-allrouters 127.0.0.1 local.devserver.com…
Dump expo1)sudo docker exec -i master-management_mongodb /usr/bin/mongodump –username user –password password –authenticationDatabase admin –db mms2 –out /dump2) sudo docker cp master-management_mongodb:/dump ~/Downloads/Restore:sudo docker cp ~/Downloads/dump/mms2 master-management_mongodb:/dumpsudo docker exec -it master-management_mongodb bashsudo docker exec -i master-management_mongodb /usr/bin/mongorestore –username user –password password –authenticationDatabase admin –db mms3 /dump/
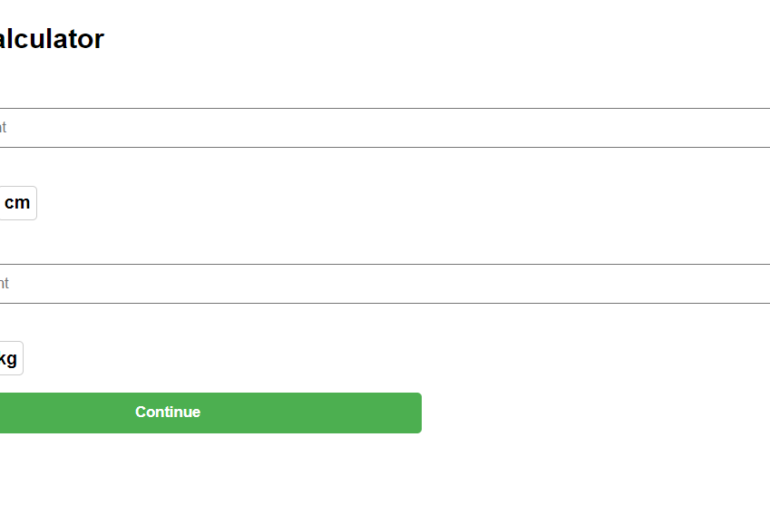
Introduction:In the health and wellness domain, BMI (Body Mass Index) is a widely used indicator of body fatness. Developing a BMI calculator can be a great addition to a health-focused website or application. In this blog post, we’ll guide you through the step-by-step process of creating a BMI calculator that dynamically converts units, providing a seamless user experience. Step 1: Setting the FoundationBegin by setting up the HTML structure and including the necessary styles. A…
sudo find /var/lib/php/sessions -type f -exec rm -f {} \;
To set up Ubuntu, PHP, and phpMyAdmin in AWS, follow these steps: Launch an EC2 instance with Ubuntu: Sign in to your AWS Management Console and go to the EC2 Dashboard.Click on “Launch Instance” and select “Ubuntu Server” as the AMI.Choose the instance type you want and configure any additional settings you need.Create a new key pair or use an existing one to access the instance. Install PHP: Connect to the instance using SSH and…
Learning Node.js can be a great way to become proficient in JavaScript and improve your skills as a web developer. Node.js is an open-source, cross-platform JavaScript runtime environment that is used for developing server-side applications. Here are some steps and resources that can help you learn Node.js: Start with the basics: Learn the basics of JavaScript, as Node.js is built on top of JavaScript. Understanding the basics of JavaScript will make it easier to learn…
There are a few things you can try to fix WordPress syntax errors: Check the source of the error: Look for any error messages in your browser’s developer console or in the server logs. This will help you identify the specific file and line number where the error is occurring.Check for missing characters: Syntax errors can often be caused by missing characters such as a semicolon or a curly brace. Check your code for any…
If the issue is that the file type or page access is not permitted, there are a few things you can try: Check the file type: Make sure the image file is in a supported format (such as JPEG or PNG). Some servers may not allow certain types of files to be displayed.Check for server restrictions: If the image is being loaded from a server, make sure the server is configured to allow the display…
To create and customize a checkbox in React using Material-UI, you can use the Checkbox component. Here is an example: Copy codeimport { Checkbox, FormControlLabel } from “@material-ui/core”; function CustomCheckbox() { const [checked, setChecked] = React.useState(false); return ( <FormControlLabel control={ <Checkbox checked={checked} onChange={(event) => setChecked(event.target.checked)} color=”primary” /> } label=”Remember me” /> ); } In this example, we first import Checkbox and FormControlLabel from ‘@material-ui/core’. We use the Checkbox component and create a state variable called…
Here’s an example of how you can integrate Google Maps into an Angular 14 application: Install the @agm/core package by running the following command in your terminal: Copy codenpm install @agm/core Next, you need to import the AgmCoreModule in your app.module.ts file and configure it with your Google Maps API key: Copy codeimport { AgmCoreModule } from ‘@agm/core’; @NgModule({ imports: [ AgmCoreModule.forRoot({ apiKey: ‘YOUR_API_KEY’ }) ], // … }) export class AppModule { } In…
